This is my preparation.....
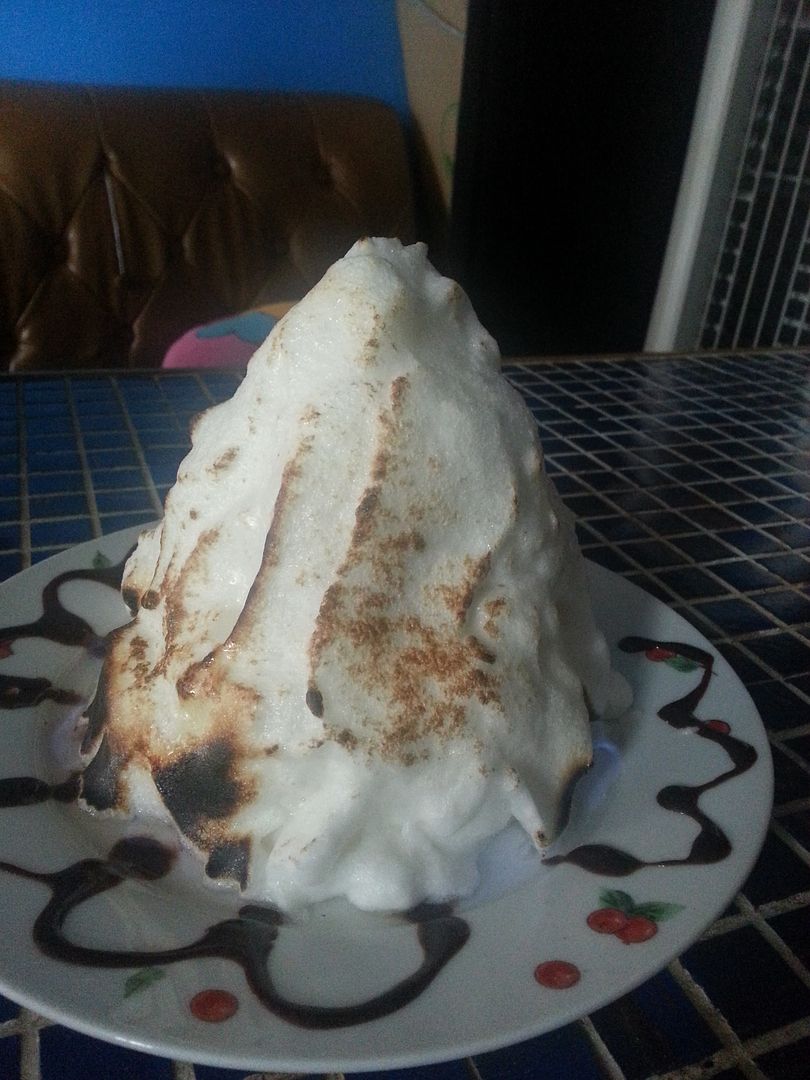
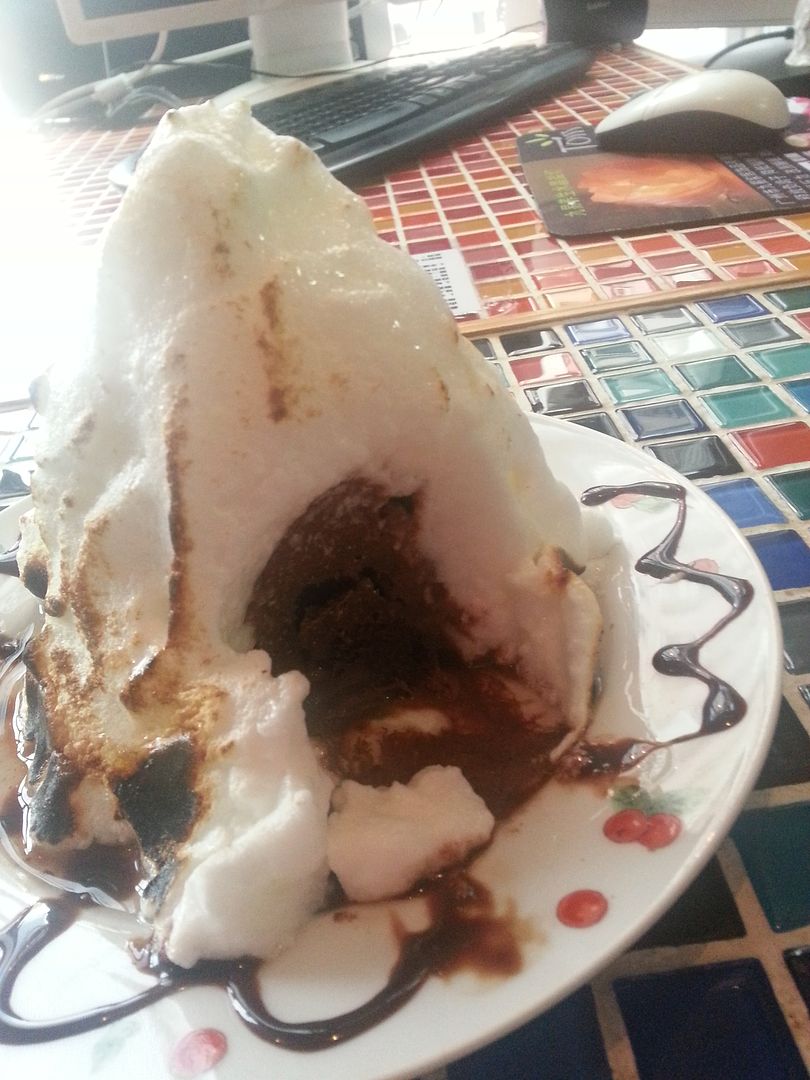
Chocolate Lava Cake AND!! a simplified version of Baked Alaska.....
Well, I checked out the ingredients from a book, this is what they were:
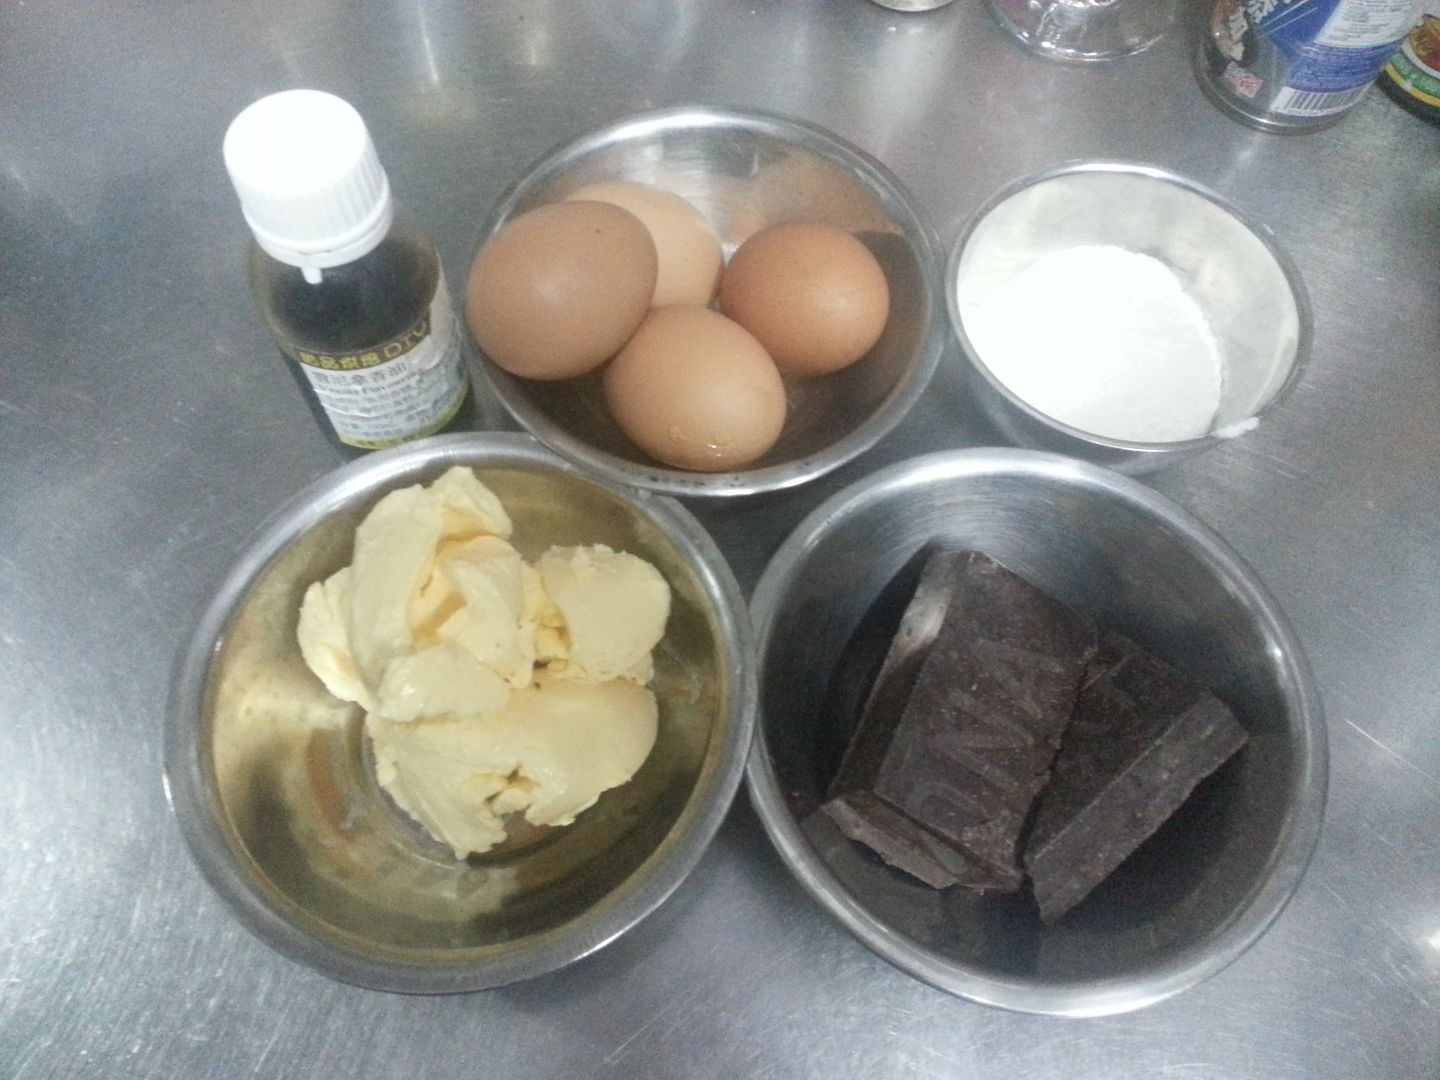
(I forgot abt the sugar when takig this pic~~XDDD Also, the pic shows ingredients for 6 serves)
* 100 G - Chocolate
* 100 G - Butter (I used salt free butter, but I think the general type will do fine)
* 30 G - Sugar
* Full Egg X2
* Egg Yolk X2
* 20 G - Flour
* 1 teaspoon - vanilla essence
Step one~~
You turn on ur oven and pre-heat it at 190 degree, then you melt ur chocolate and butter~~
BUT, you do NOT heat it directly, since it is easy to burn the choc, you let ur water to be boiled over heat and then put the pan of choc and butter over that hot water. The choc and butter will melt by that hot steam~~
Step two~~
In the meanwhile, mix the eye yolks, the full egg, the sugar and the vanilla essence together, mix well with a blender.
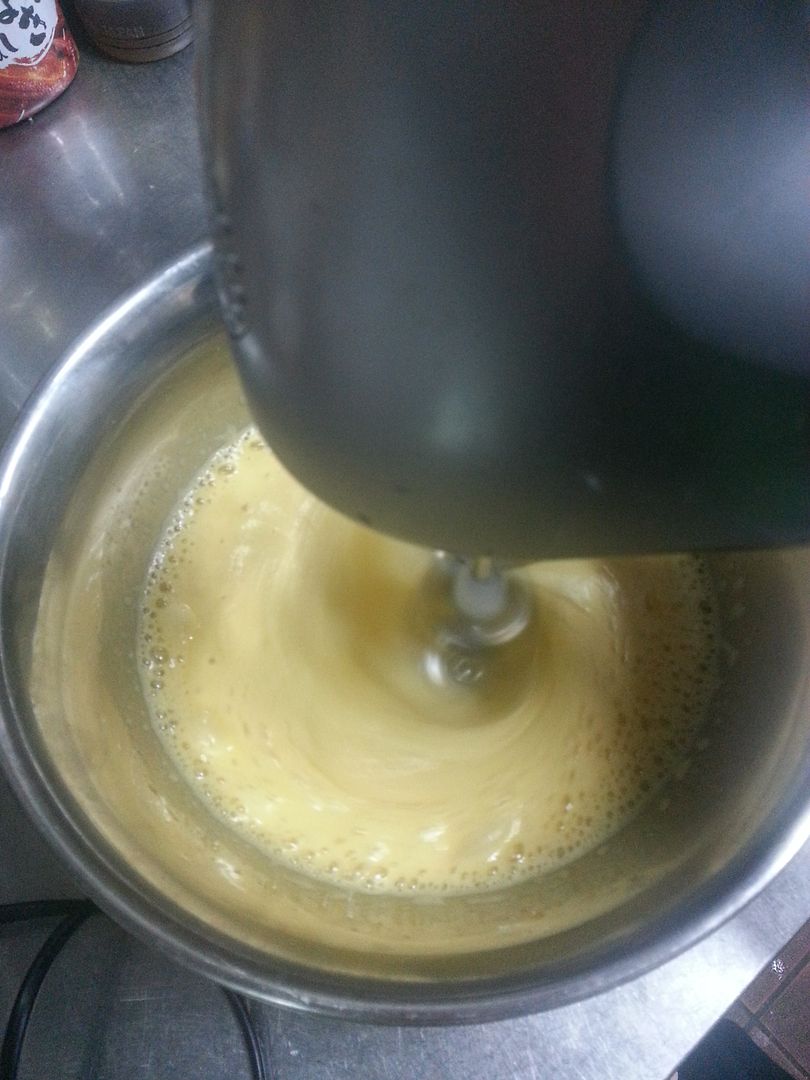
Blend until it it thick enough to draw an "8" on the surface of the mixture
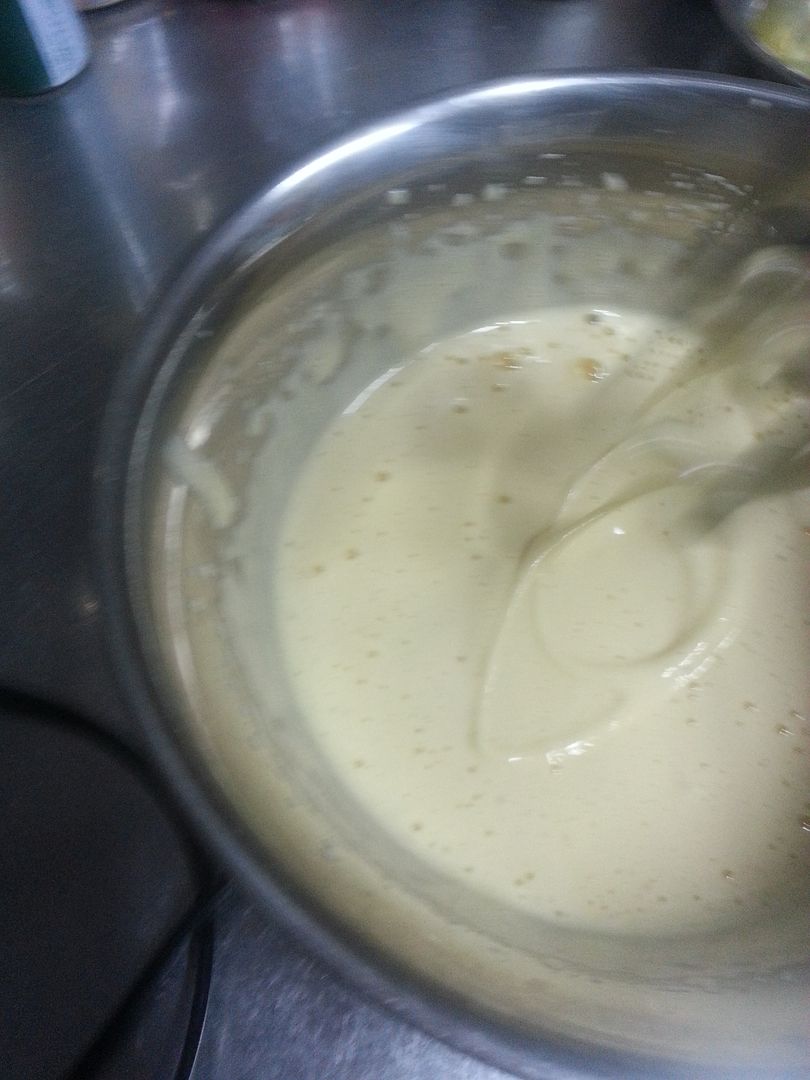
Step Three~~
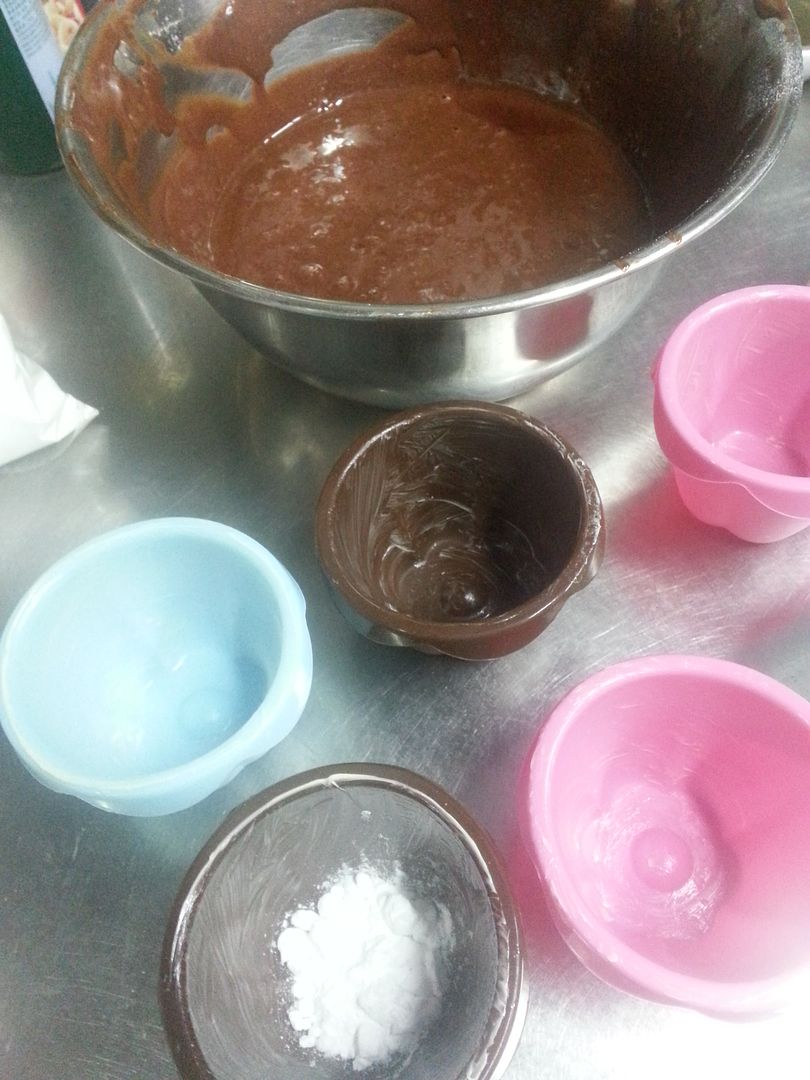
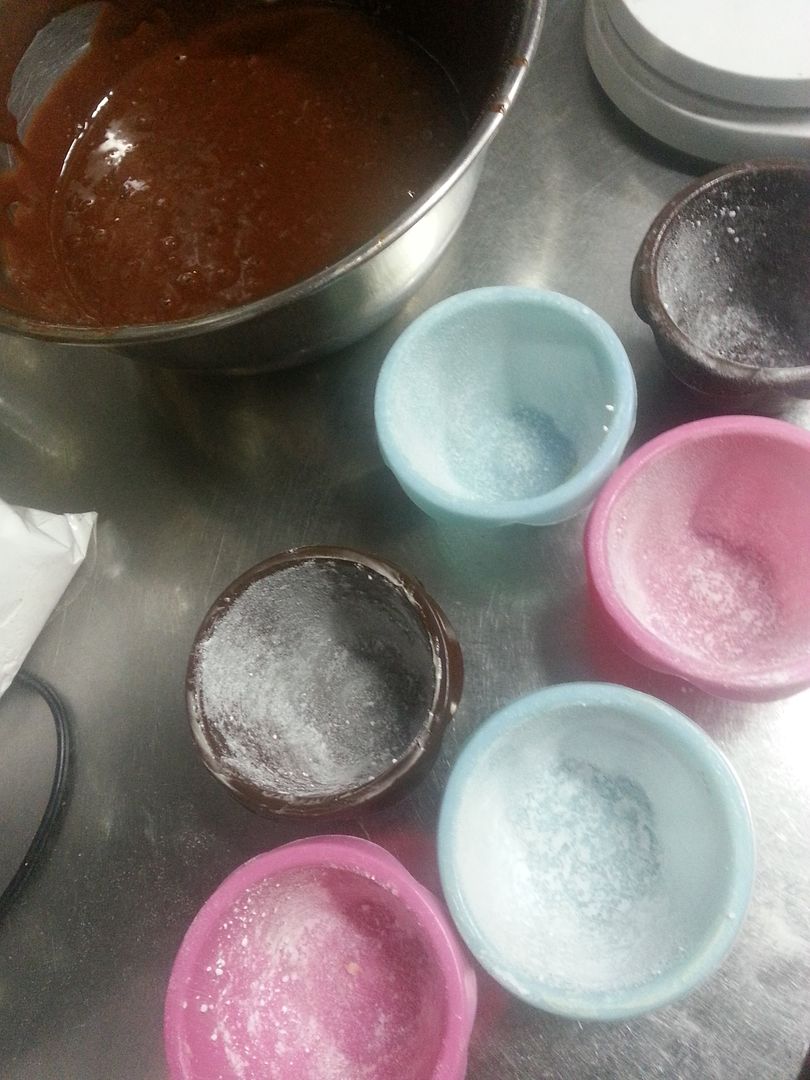
See if the choc and butter is ready, if all melt fine, take it off heat, let it coll down for a bit. At the same time, grease your container, and I've added icing sugar to prevent it from sticking. Do this quick, not to take forever~~
BTW I bought these cupcake containers from IKEA, they are non stick and easy tip up cups, can be heated up to 250 degree, I find best for making a lava cake, as I have always had problems with taking the cake out without hving to break it.
Step Four~~
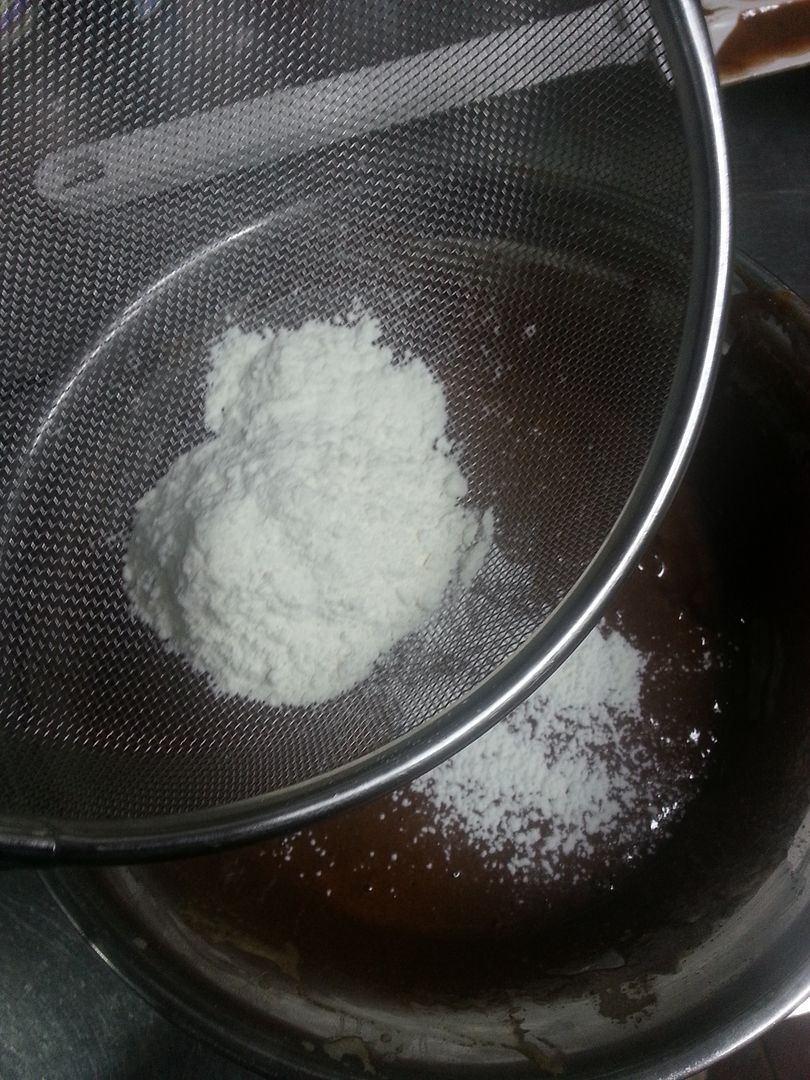
Mix the but+choc wiith the egg mixture, then seive in the flour and mix.... again~~
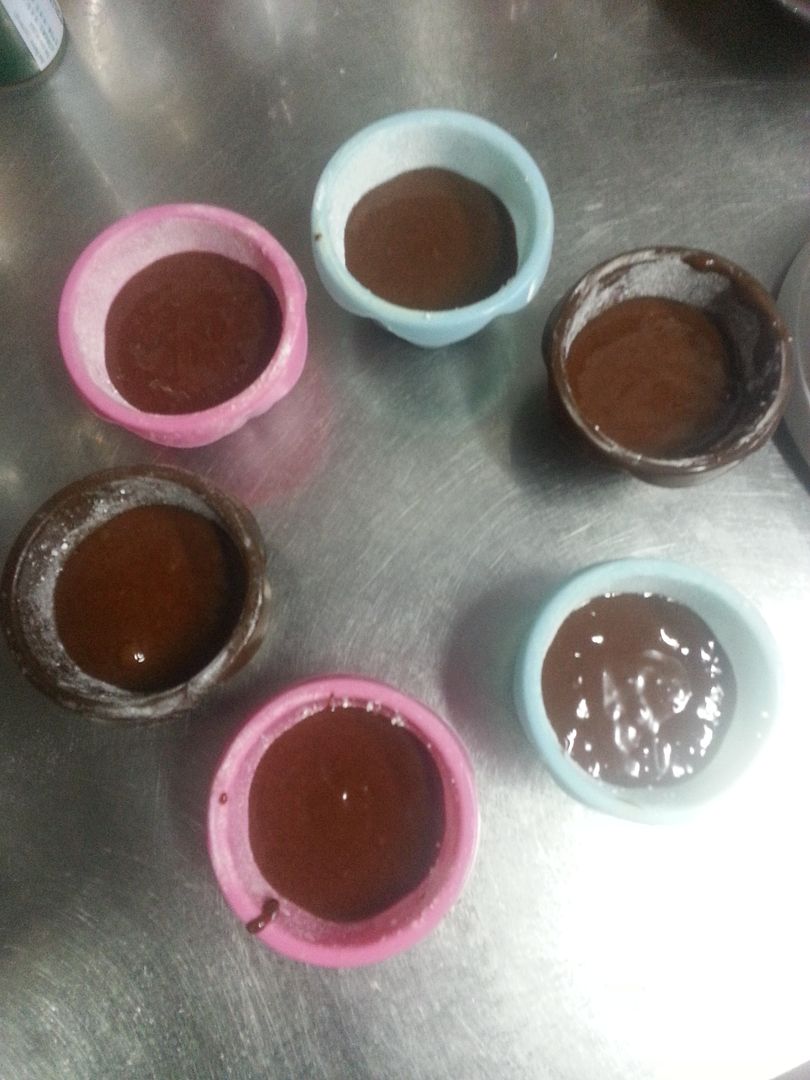
And, divide into the containers~~~
Step Five~~
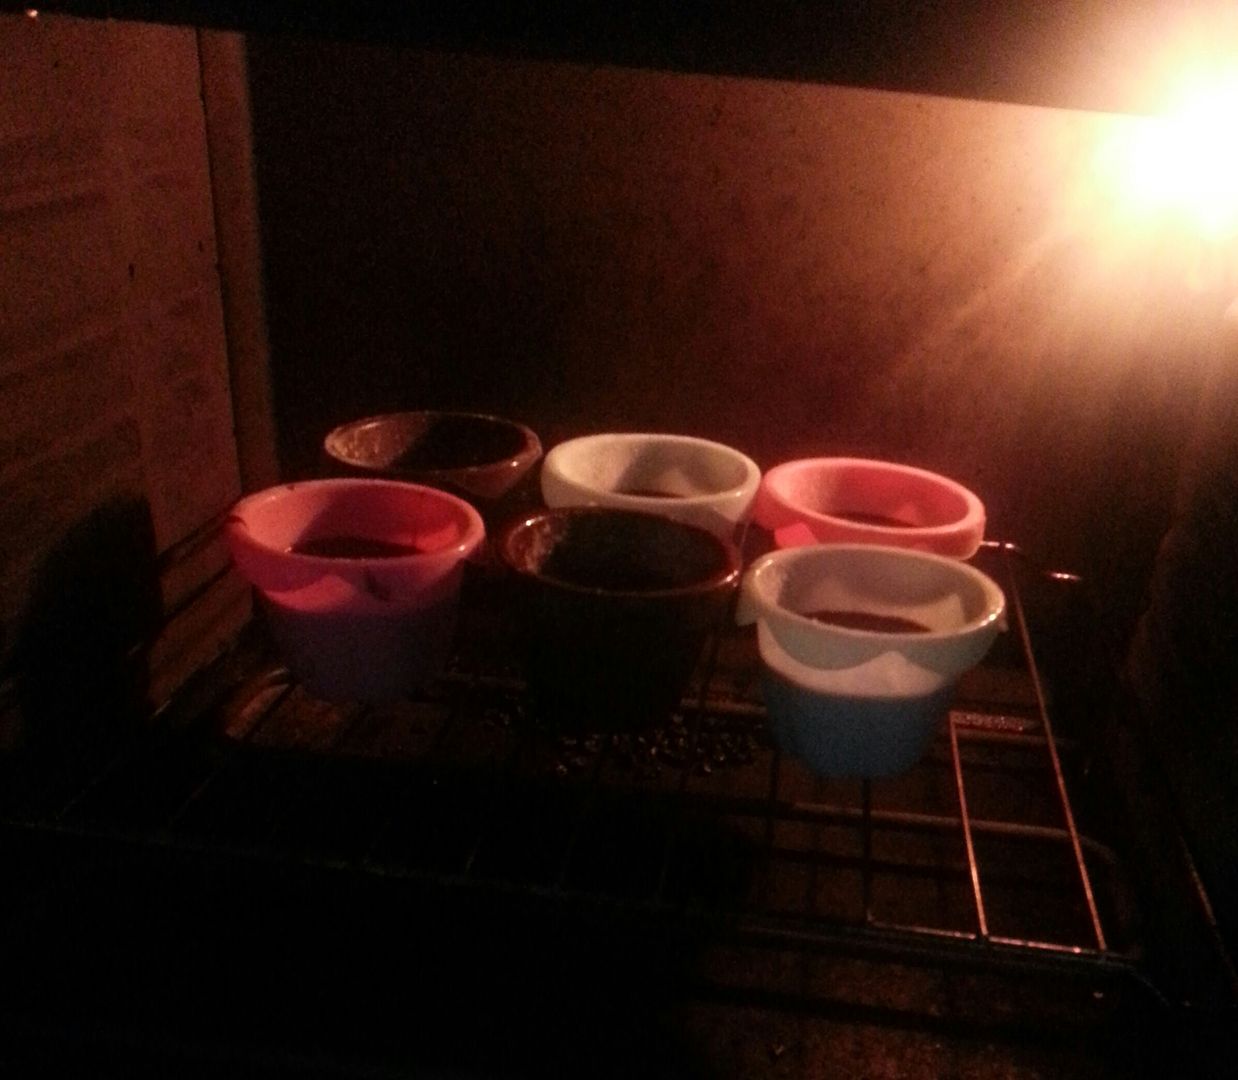
Put into oven, heat 5 mins and 30 secs. This is the time I found best~~ It depends on your oven's power~~ This varies~~ Suggest you take our ur lava cake in 5 mins to check, if OK, take out the rest quickly~~
FINALLY!!!
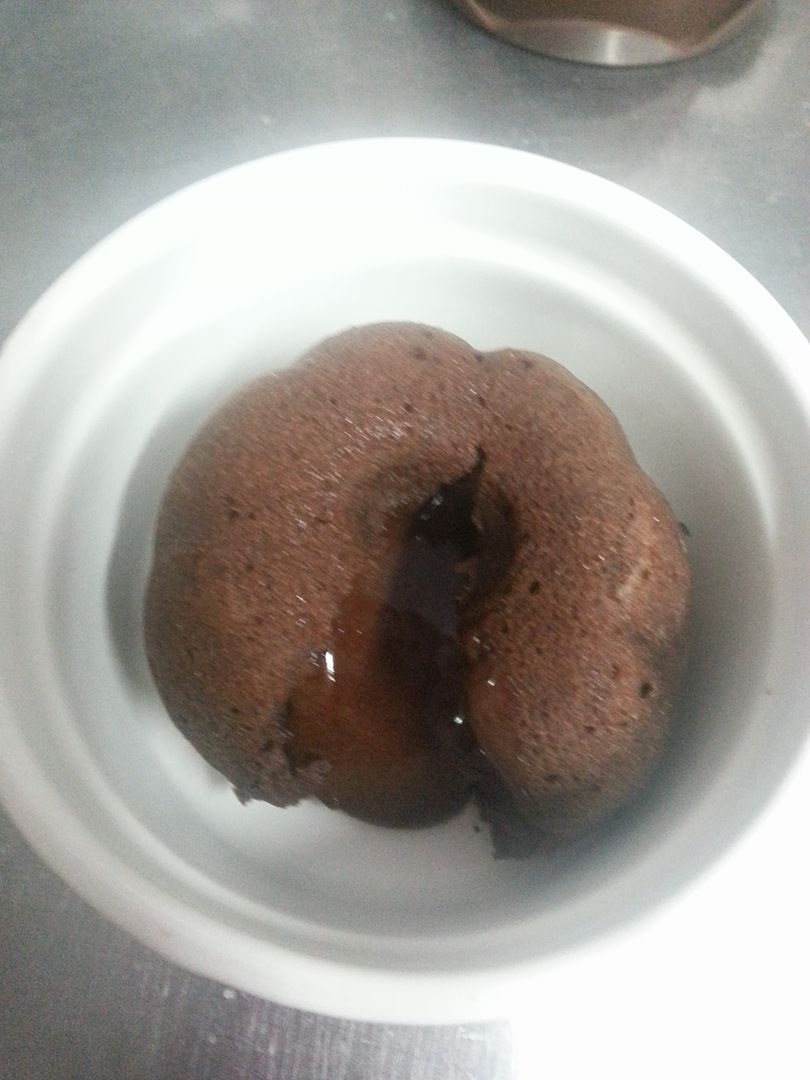
I broke one to check the lava actually flows out~~XDDDD
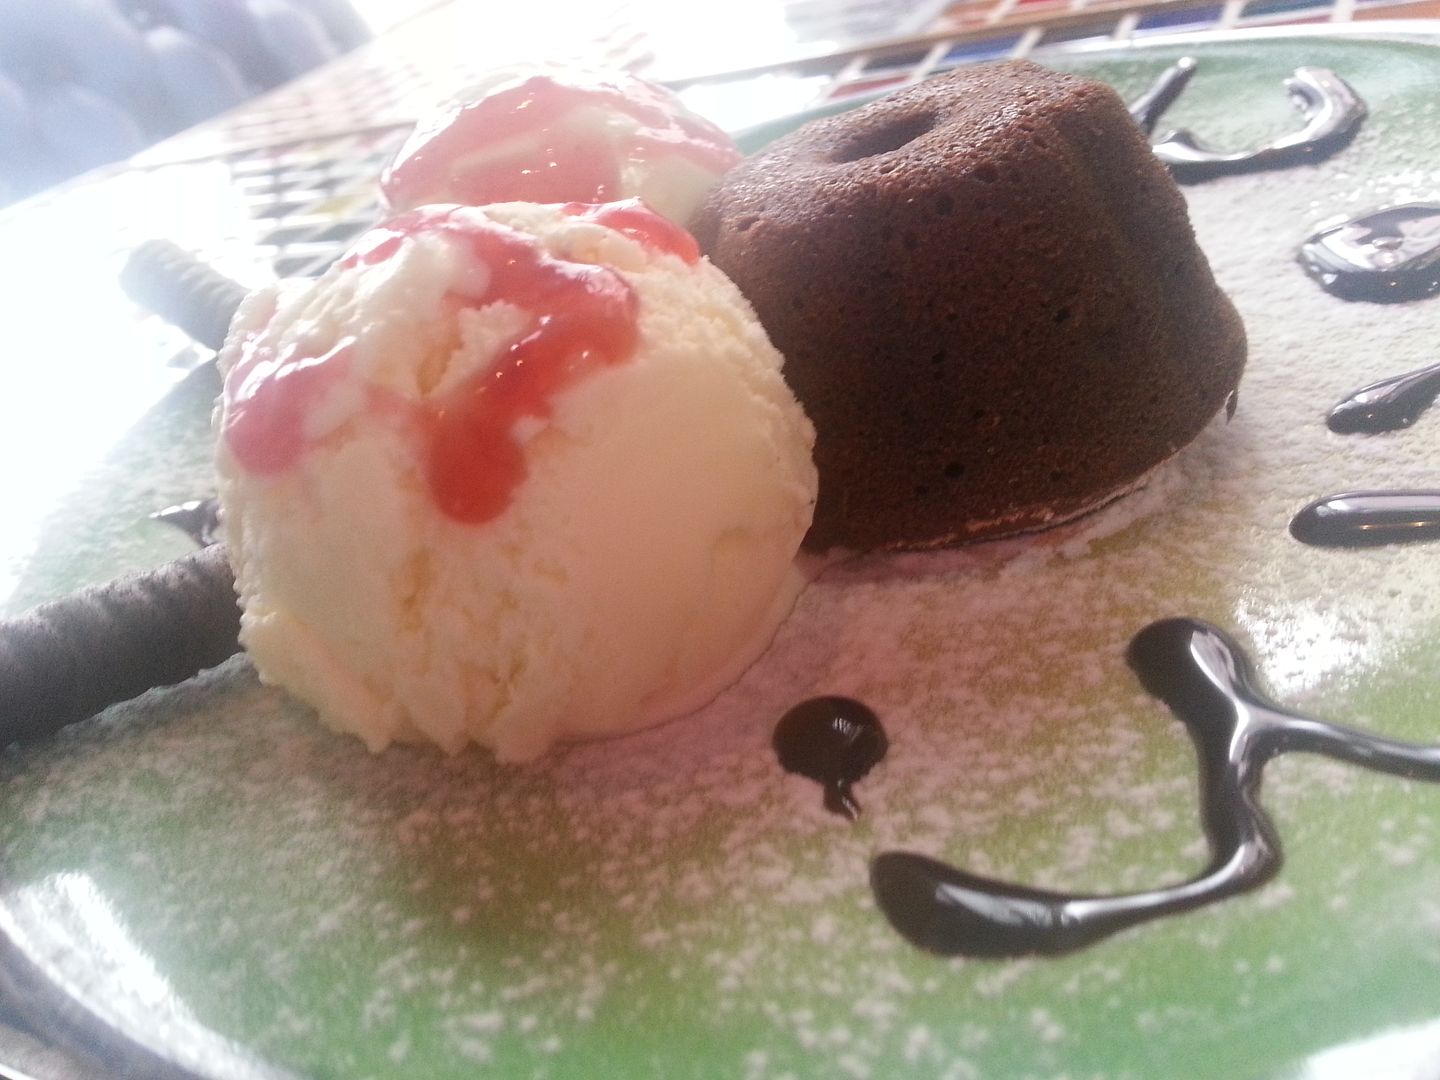
And~~ Serve with ice-cream!!
+ + + + + + + + + + + + + + + + + + + + + + + + + + + + + +
Normally, after making the lava cake, ppl will start to throw away unused stuff, such as the egg white!! That's a big mistake!! Becoz it can be served with the cake!! >W<
All you have to do, is add a teaspoon of sugar into the egg white, blend it until it is foamy, and does not fall off the bowl.
Then put ur lava cake on a plate, add a ball of ice-cream on top. Do this step quickly, not only the ic-cream will melt, the lava cake will also freeze~~
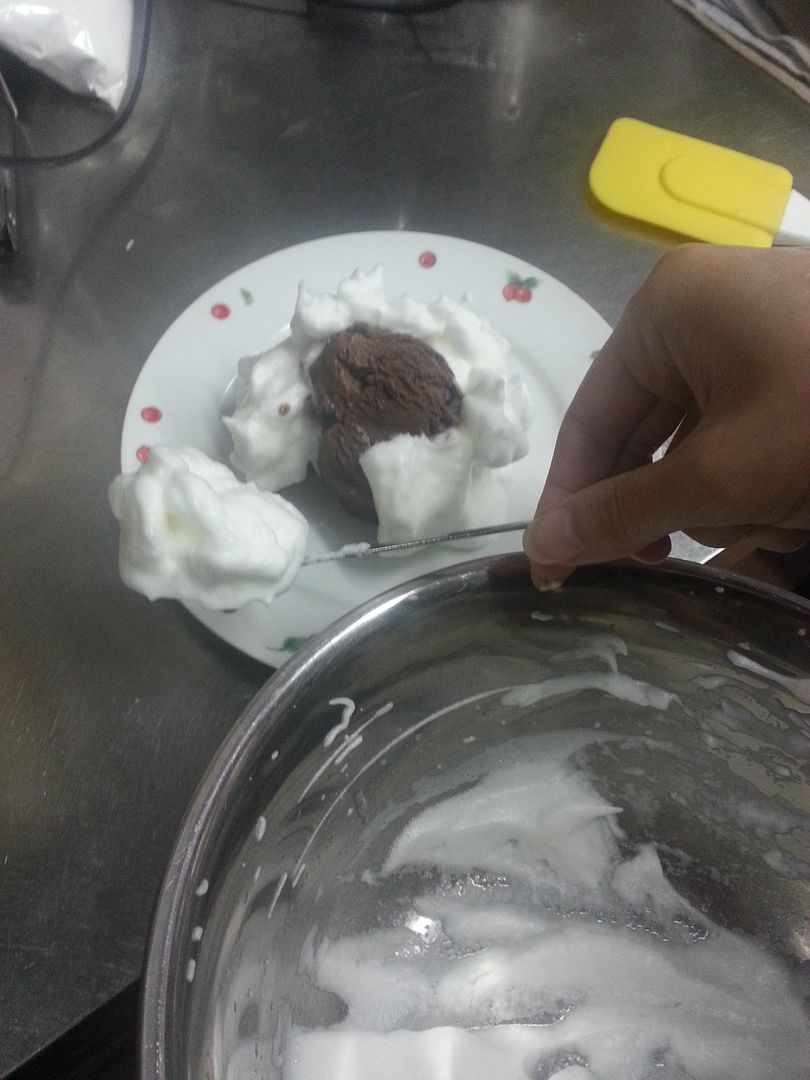
(This is definitely a bad demonstration, I had too big a ball of ice-cream, it was kindda easy to fall XDDDD)
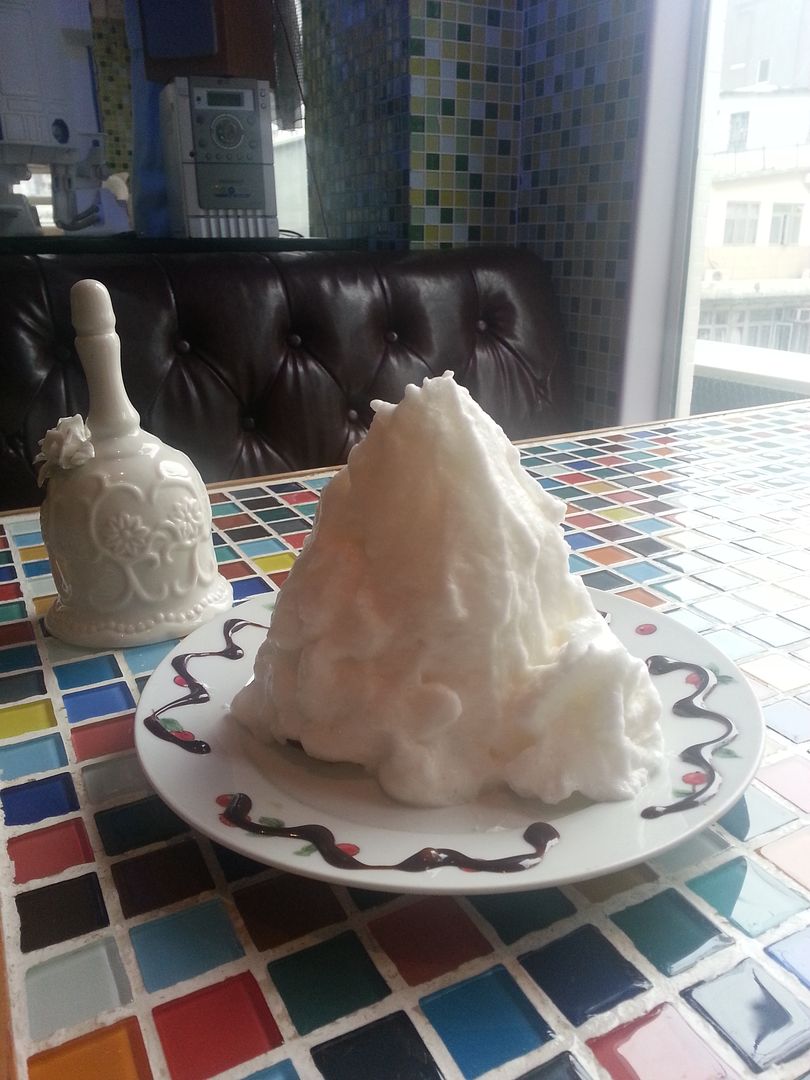
It is like this when put on table, but actually, it should be burnt slightly before putting it on fire~!
I didn't take that burning process photo~~~ but this is what it looks like after setting it on fire~~~
Inside~~!! >W<
Right, girls!! READY for your valentines' day rite? yeay~!!!>W<

沒有留言:
張貼留言